Cases
Cases are a synchronous mode of communication between a patient and an individual practitioner or a provider team. Cases can be used in parallel with appointment scheduling or they can function as the only means of patients contracting practitioners.
Steps
1. Accessing the "Cases" Panel
Users must have the specialty "Health Coordinator" or "Medical Coordinator" set in their profile to view and access this section. If this specialty is not listed, contact an administrator for assistance.
2. Cases List
Upon opening the new panel, users can review all unclaimed cases, arranged chronologically with the oldest requests at the top. Each case is marked with a visual cue on the right, indicating if it is overdue or the exact time since initiation. By default, cases have a 48-hour period before being marked as "Overdue" in red. An "Urgent only" list may be available, depending on the platform setup, accessible via a toggle on the right.

3. Viewing a Case
Opening a case reveals details such as any text or files shared by the patient (optional), contact details (name, email, phone number), and the "Posted on" timestamp indicating when the patient initiated the request.
4. Claiming a Case
Users can claim a case by clicking the "Take" button, which triggers a pop-up window for confirmation. Once claimed, the case is removed from the common pool and becomes invisible to other coordinators.
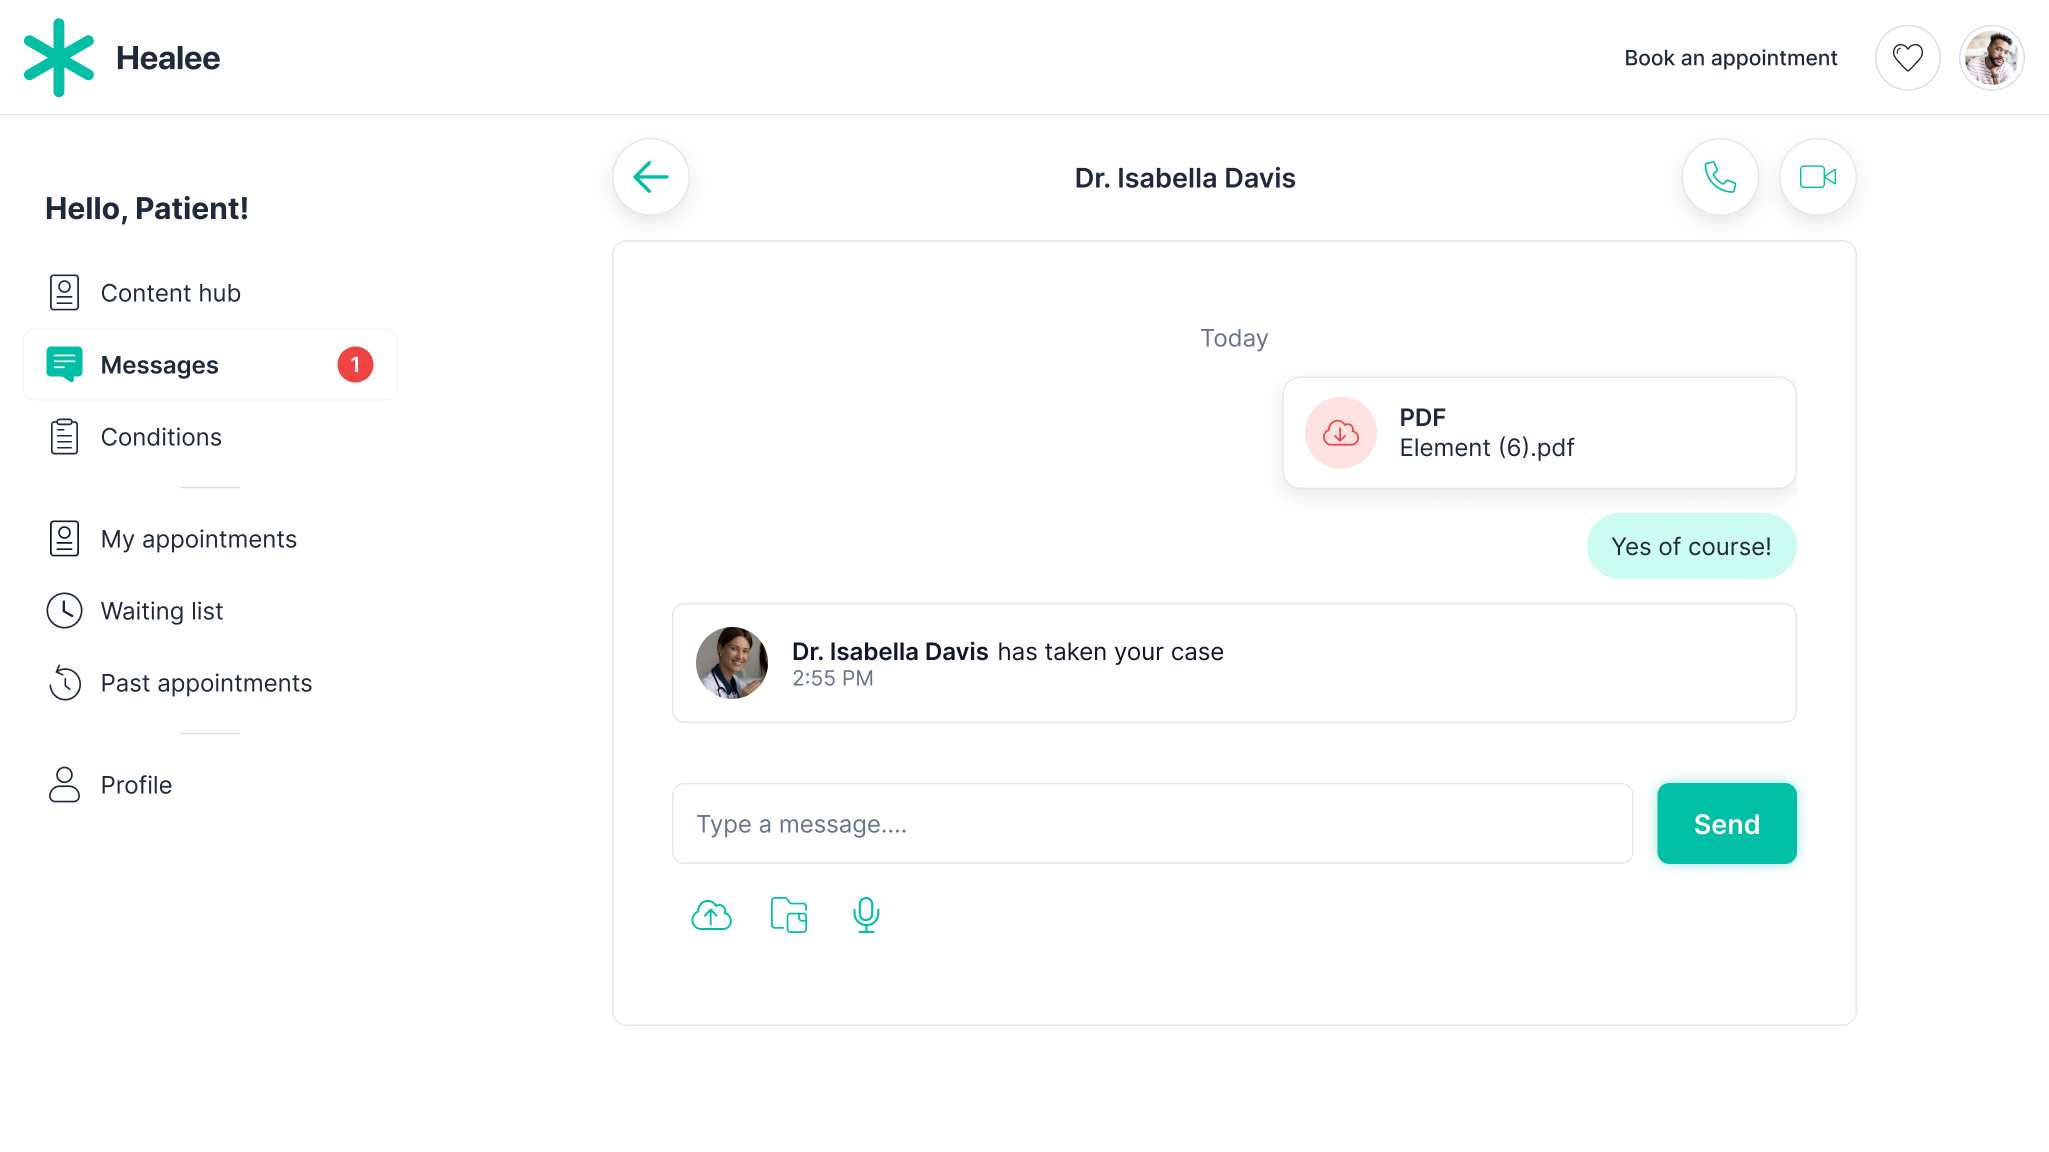
5. Engaging with the Patient
Claiming a case creates a message thread between the user and the patient. Depending on the platform, this could be a 1:1 chat or a group thread with other coordinators included. Users can then utilize various communication options, such as chatting, audio or video calls, sending intake forms, and requesting payment.
For more information on message threads, go to: Practitioner Guide > Message Threads.